Showing posts with label october afternoon. Show all posts

Saturday, March 28, 2015

See the World - October Afternoon and My Mind's Eye

Happy Saturday!
I'm back with a new 12x12 travel layout from my visit to Paris, France. My favorite part of Paris was seeing the Arc de Triomphe. It was so beautiful and mere steps away from our hotel. Everyday I would pass it to get to the metro and I miss it so much!

October Afternoon - Boarding Pass - Chip N Stick October Afternoon - Boarding Pass -Miscellany
 I used My Mind's Eye's Jubilee collection for the background because I fell in love with the little saying at the bottom. I layered it up with some of the bits and pieces from Heidi Swapp's new ephemera pack called "Hello Today". This layout also let me dig out my October Afternoon Boarding Pass embellishments. I've been waiting to use all of those for years!

Hope you enjoyed this one! See you soon!


Saturday, February 21, 2015

2/21/15

Happy Saturday everyone! I hope you're staying warm, where ever you are! The snow is coming down heavily here, so I'm stuck inside for the weekend. That's fine with me though.

Snow + Puppies + Blanket = Warm Snuggly Heaven

So, while I'm staying inside today, I thought I'd share my layout about the flight to Paris. I'm currently using this page as my cover page for the album. Once again, I haven't been able to take great pictures in a while. Please forgive me!


Recollections Travel Stamp Jar

Some of the items I used were from my scrap pile, so I'm not sure who they belong to anymore. It's been so liberating to try using only my scrap pile nowadays, but it does get frustrating when I'm trying to give credit. Either I've forgotten totally or the item is no longer around to link to.

I used brown string to show were I was coming from and going to, and then placed a chipboard airplane on top. I've been waiting to use the cute airplane chipboards that I have for a while now. We usually don't fly to places so they've sat in storage for quite some time. When traveling, I always try to take pictures that truly tell the story. Your plane ticket, favorite coffee, local cuisine, etc. These photos normally tell more about your trip than the average tourist picture. 

Oh, and don't forget to check out my Etsy shop! I've got some great printables in there for TRAVEL and Valentine's Day!

Tuesday, July 3, 2012

Maya Road & October Afternoon Mini Album

I was browsing through my local Hobby Lobby when I came across the cutest mini album in the world. It was a three ring binder by Maya Road that had a removable canvas cover. As soon as I laid my eyes on the mini album, my MIL and I both grabbed one. You can see a similar one here, but my mini album doesn't have the jean pocket on the front. It came with 3 canvas pages and 3 chipboard pages. It was so nice that they mixed up the pages like that because it gave me plenty of surfaces to choose from.


Tattered Angels - Glimmer Mist - Electric Blue,  October Afternoon - Farmhouse Collection - Shape Stickers,  October Afternoon - Farmhouse Collection - Journaling Cards, October Afternoon - Farmhouse Collection - Gravel Road, October Afternoon - Sasparilla - Little Flyers

I decided to use my mini album for all the extra engagement photos that I knew I would never get around to scrapping (I have TONS of pictures everywhere). First things first, I took the canvas cover off my mini album and sprayed it with Electric Blue and let it dry. The color dried so pretty, not too dark and not too bright. Looking at the color blue, I decided to go with a simple prime color scheme (Blue, Red, and Yellow). The yellow doily sticker and the red rose sticker brought those colors to the cover of my mini album without being too childish. That's one of the main things I love about the Farmhouse collection; the colors are bright but mature. To ensure that everything stuck to the canvas cover, I used my sewing machine to sew them down.


While the cover was off, I covered the inside chipboard of my mini album with a fun and simple stripe. I loved it because it reminded me of seersucker (which is a southern thing!). I can't say enough about this Maya Road album. It was so easy to maneuver and the binder rings are so fun. I wish I had grabbed another mini album like this. Hopefully they will still be at Hobby Lobby for a ways to come.


The journaling cards were just perfect for all of my journaling. The colors and sayings were fun and they were the perfect size for the pages in the mini album. I didn't have to trim them at all. I just said what I wanted to say and glued it down.


This picture is actually a funny story. I wanted to have my engagement photos outside purely for the fields and hay bales. After spending months looking up "engagement photo ideas" I had a specific look in mind. Unfortunately, God had other things in mind.... like rain. When we got to the farm, all the hay bales were soaked and we couldn't sit in front of them or on them. But I was hell bent on a photo with one, so I made Caleb lean against one with me. I got my hay bale after all. : D


I love this journaling card specifically because of the church on the hill. I thought it tied in with the theme of marriage and a wedding. So, to go with the rolling countryside, I chose a picture of us out in 'the country'. The good times sticker is actually a rub on from their 5 and Dime collection. I couldn't find a link for you since it's no longer available.


The 'My Best Friend' sticker on this spread is actually from Sasparilla's little flyers. It was meant to be put on a flag, but I just liked it alone. The chipboard pages lended themselves to photos very well. All I did was run my ATG on top of the chipboard and press my photo onto it. Then, I flipped it over and used an exacto knife to trim around the edges. Lastly, I rubbed the edges with a nail file to get a smooth finish.


This picture was so cute but the photographer waited until the very end of the photo shoot to do it. Why does that matter? Well, it's a very simple equation:
1 tired man + 1 cutesy pose = 1 extremely grumpy man. 
He did NOT want to do this picture, but I'm glad I forced it out of him. I think the heart that our hands make is very sweet. What can I say? I'm a mushy kind of girl.


And this is the very last page of my mini album. I thought it would only be fitting to end on the photo of Caleb and I looking towards the future and leaving everything behind. This is also very meaningful for me because this is how Caleb walks with me ever since our first date. Ever the gentleman, his hand is always firmly on the small of my back. 

I absolutely love this mini album and I hope I get a chance to make another one of these. And I also hope that you'll stop by to see me again soon. If you haven't already, make sure to follow my blog by choosing an option on the right side of the screen. I appreciate all my followers and you'll be updated if I post anything new! See you soon!

Friday, June 15, 2012

My Hometown - October Afternoon

A long time ago, I entered this little canvas tag mini album to be published. I wasn't able to post it because they specifically asked that it be something that has not been viewed before. After 1 year, I never heard anything back. So, I guess it's safe to show now. I have to say, this will probably be my favorite mini album for a while.


I made this mini album all about my hometown. Every year it changes and looks so different. I thought it would be a great idea to document it so I can show my children one day. The canvas tag mini album was just the thing because it's so fun and homey. I absolutely love October Afternoon because of their wonderful colors and retro feel. You can use it to scrap a two year old child or a 90 year old woman. It's perfect for just about anything.


This was my childhood home. It was sold two years ago, so I definitely wanted to scrap a picture of it before the new homeowners changed anything. The fabric of the mini album canvas tags didn't want to stick with any glue I used, so I used my sewing machine to attach a background piece of paper. Then I was able to layer on just like a regular layout page.


This is my high school. I'm a little upset that I didn't get a picture sooner. The high school recently had an upgrade and additions on the front so it already looks so different from what I remember. The apple on the right was an image that I cut out of one of the papers. I glued it inside a vintage red button and filled it up with glossy accents. I actually have to pat myself on the back for the little pennant on the right. This mini album was made before pennant flags were a big thing. I had to use a kitchen toothpick!


This is my family's business. This is the most important to me because this is my heritage. My grandfather started this business all by his self and it has been passed down to my father. I loved the little dog image and I found a button that looked like a little ball for him to play with.


I hope you enjoyed this mini album. I wish that I was able to share it with you when the 5 and dime collection was new, but hopefully you'll enjoy it just the same. : )


Thursday, June 14, 2012

October Afternoon - Father's Day Card


Life has definitely been a whirlwind experience lately: wedding plans, new puppy stuff, moving and then not moving (long story). I've been so tired that I've lost my scrapbooking mojo. But now I'm back and ready to go!

What better way than to kick off with a Father's Day card? Father's Day is this Sunday and I know how difficult it can be to make a 'male approved' card. It's normally my hardest subject. But I've found that if you just follow a couple of simple rules you'll be fine.

1. Guys are just fine without flowers and ribbons. I know that you can put that stuff on a guy's card, but why? Guys don't notice that kind of stuff so why waste your cute stash?

2. Base your card around a masculine color. Guys like things that are obviously meant for guys. Ever notice what the guy's side of the shampoo isle looks like? Black, white, grey or brown with a splash of color just for a punch...and that's it!

3. Just keep it simple. All these rules boil down to a basic principle..simplicity. Trust me, he'll zone in on the fact that you took the time to make him a card but that's it. He won't know that it took you an hour to hand make those delicate roses or that you had to coat the card with three different colors of mists to get the perfect shade. Give yourself some credit and relax!

October Afternoon - Farmhouse Collection - Button Box, October Afternoon - Farmhouse Collection - Church Social, October Afternoon - Farmhouse Collection - Guest Room, October Afternoon - Farmhouse Collection - Farmhouse Word Stickers

Now, on to my card. I dug out some of my October Afternoon scraps (which is taking over my scrap space) and instantly set my eyes on their Button Box paper with the male image above. I cut it out with a pair of scissors and backed it with some corrugated cardboard. For my background papers, I used Church Social and Guest Room with the complimentary colors yellow and blue. Add a couple of cute sticker embellies from their word stickers and viola! Simple and non-frilly, perfect for any guy of any age.

When it came down to an envelope for my card, I started to make one out of plain cardstock until I spotted the brown paper bags that I keep stashed for mini albums. It just happened to be a perfect fit. So I cut off the bottom and ran it through my sewing machine. I think it looks so cute and it reminds me of the old movies where the mothers always 'brown bagged' their children's lunches. I think the envelope is my favorite part!

Hope you all enjoyed this and I hope it helps to get your mojo going. If you haven't already, make sure to click the 'follow this site' button on the right or follow me by email. I promise you won't receive any spam junk from me.


Thursday, March 1, 2012

Celebrate Card - October Afternoon's Sasparilla

You'll have to excuse me for making this post so short. My entire family has been sick the past two weeks and I just now got it. So,I'll just have to make this short and sweet, then off to bed.

I loved this October Afternoon collection, but I didn't have any more pictures that I could scrap with it.  :(  But, the more I looked at it, the more I wanted to play with it. So, I made a compromise...using only scraps left over, I made a card.


One of the wonderful things about this collection is that it can really be used for anything. The colors are rich and bold, but it only looks 'western' when you use the embellishments. I absolutely love the blue polka dot pattern and I could reuse it multiple times. This card I specifically wanted to be playful and western so I used the Sasparilla 'Little Flyers' and 'Miscellany' to give a little character. The little cowboy card looked so cute. It made me think that he was inviting me to have some fun. So, I made the little flag into a celebration flag. I think this would be really cute as a kid's party invite. How 'bout you?

Tuesday, February 28, 2012

New Ride - October Afternoon Sasparilla

October Afternoon's Sasparilla line is just what the doctor ordered. It's fun and masculine enough for any male in your life. It's very hard for me to find a collection that I can pair with photos of Caleb, so I jumped at the first chance to get my hands on it. I loved all the little journaling cards and embellishments that come with this collection. I was able to pile on some really awesome things and I still have a lot left for some more pages.

This page is about Caleb and his new Volvo. The old Dodge Intrepid finally gave up on us and departed this world with a blown head gasket. It was a good car and shall be missed. :::sniff sniff::: But the Volvo is awesome! It's such a fun and sporty little red car. He's so proud of it, so I just had to scrap him with his new ride. I'm so glad that one of the major colors in the Sasparilla line was red.


Please excuse any blurry photos. I just bought a new camera and I'm trying to get used to it. (It's very hard going from Donna's professional camera to my cheapy version.)  I started out with basic kraft paper and layered it on top of plain red cardstock paper. I went around the edges with Tim Holtz's Vintage Photo distress ink to give it a worn look. It gave me a double bonus because in some areas it looks like extra shadows.


I was originally drawn to Wilna's Creative Goals layout. I loved the negative shapes that were cut out. But, on my version, I wanted each negative shape to have a different pattern paper behind it. So I lightly traced out some stars and cut them out with an exacto knife. Then, I chose three different papers and secured them with my ATG runner. I originally wanted to go around the shapes with the sewing machine, but the stars were so small and had so many edges that I decided to use a pen instead.


The little flags are just so cute! I remember a while back when I just used kitchen toothpicks and a triangle cut out of paper. But these little guys are whittled to be extra decorative and they come with 10 different flags you can use. I covered the sheriff star with a shiny gold paper and it looked like real metal (but it didn't show up in the photos). For a final touch, I ran my layout through the sewing machine with a heavy black to bring out the car's wheels.

Hope everyone enjoyed this layout. The Sasparilla line was so bold and fun. I'm still looking around for more topics that I can use with it. I haven't even begun to use the yellow side of this set. Make sure to click the 'follow' button to the right to be updated with my newest layouts. If you'd rather get my posts in an e-mail version, just enter your e-mail address in the box provided to the right. (I promise you that I will never send you any spam or junk e-mail.)

Monday, February 27, 2012

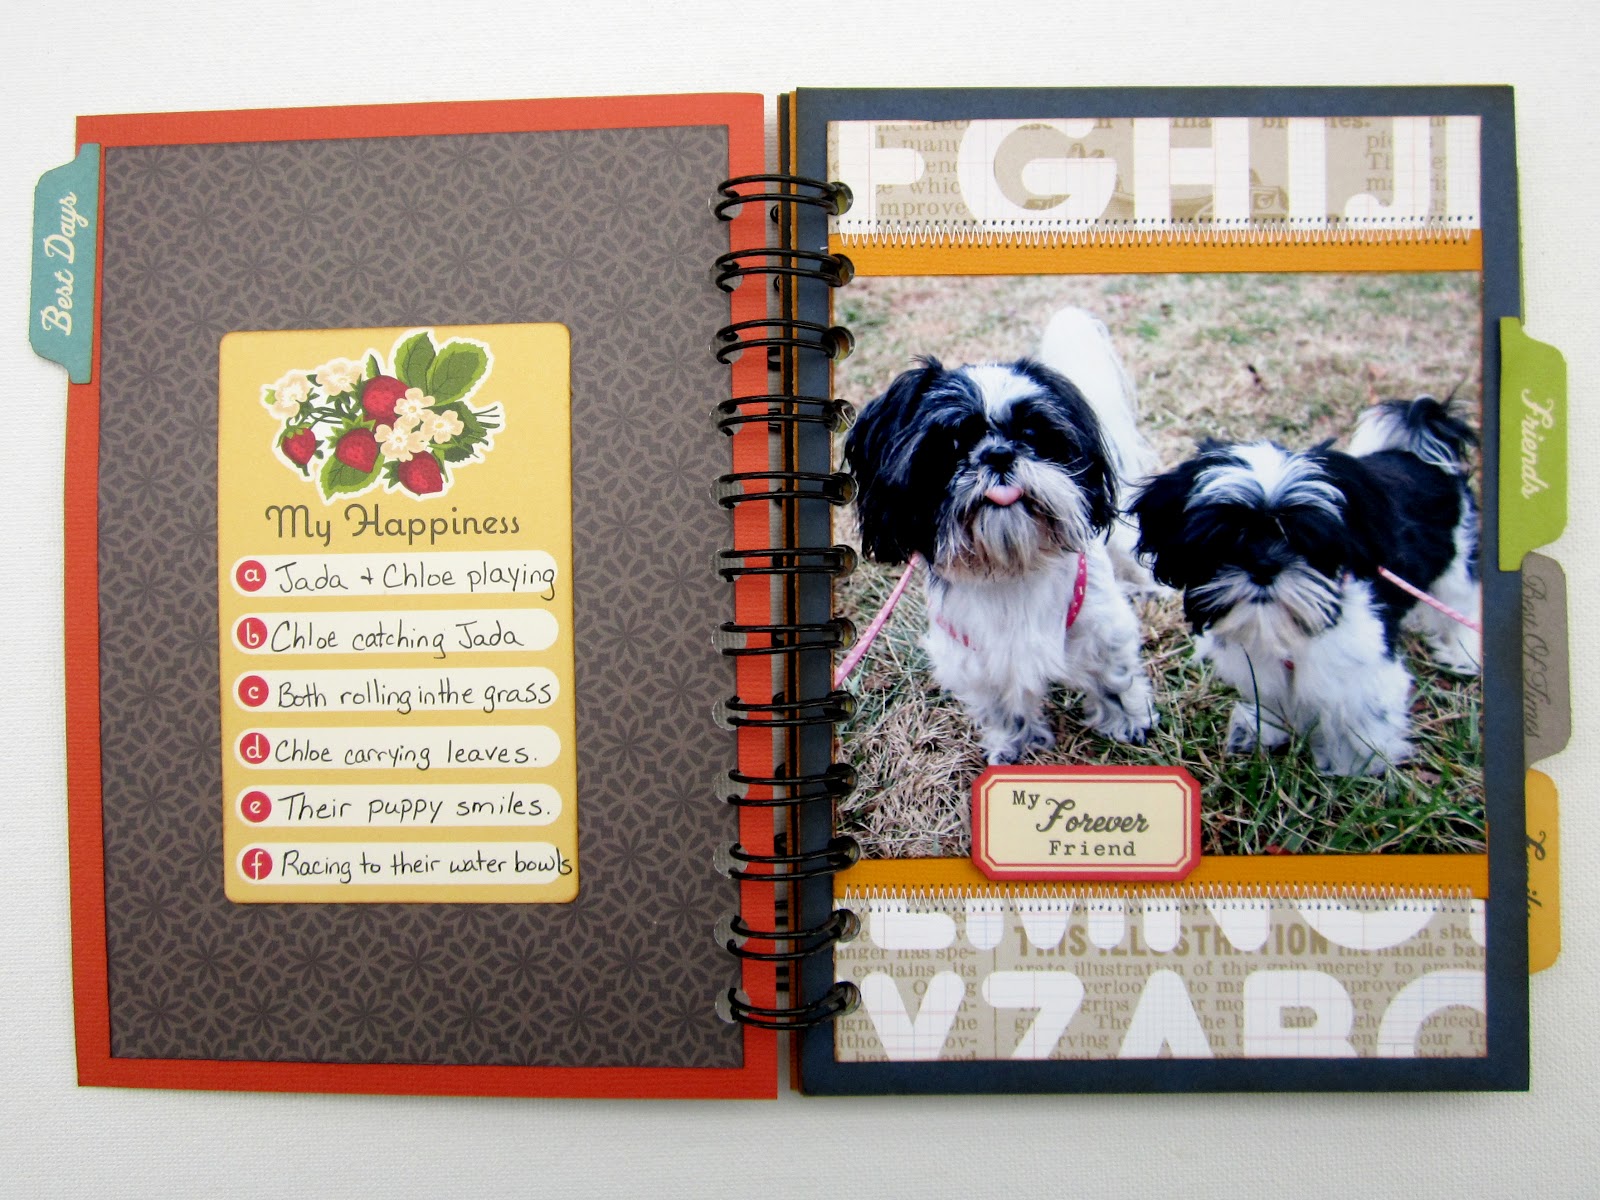
Jada and Chloe

I'm the girl who never wins anything. So, imagine my surprise when I won two things in one week! I received a wonderful kit from both Wilna and Keshet. I couldn't wait to use both kits and I was lucky enough to be able to use both on a cute little mini album. I had been wanting to scrap these pictures for a long time but I just couldn't find a real reason to scrap a full 12x12 layout. So, a mini was a fun way to scrap them separately.


Studio Calico - Classic Calico - Letterset, Studio Calico - Elementary - Atmosphere,  Studio Calico - Elementary - Harper's Rule, Studio Calico - Farmer's Market, American Crafts - CHAP - Jim, American Crafts - CHAP - Richard, My Mind's Eye - Good Day Sunshine - Sunny Stripes, October Afternoon - Boarding Pass - Chip 'n Stick, October Afternoon - Campfire Word Stickers, October Afternoon - Farmhouse Word Stickers, October Afternoon - Sidewalks Word Stickers, October Afternoon - 5 & Dime Label Stickers, October Afternoon - Modern Homemaker Label Stickers, October Afternoon - Cherry Hill Cardstock Stickers, October Afternoon - Farmhouse - Journal Cards, October Afternoon - Boarding Pass - Miscellany, 3L - 3D Foam Squares, The Cinch Binding Tool

Since both prize kits had lots of papers and embellishments with the same color theme, I was able to mix-and-match them along with some of my own stash. I have tons of October Afternoon stickers that I never seem to use up. I just use a couple of favorites and then put the rest away. It was a blast being able to pull them all out again. I felt like I was getting new stuff all over again.


Since each of the tabs came from a different collection, they all had different fonts. I actually loved them so much more because of it. They really gave a personal touch to the mini. And surprisingly, the colors all tied into my main paper and made it feel very cohesive. I also found a little trick to sewing in a mini. If you sew on the paper before you attach it to the main book, then you won't have stitching that shows through to the next page.


This mini was so easy to make. I tried not to embellish too much and instead let the papers speak for themselves. They're so bright and busy. Thanks to Wilna and Keshet for their wonderful gifts. They were so awesome and spot on for what I wanted to do. It's too bad that some of this stuff has been discontinued. I would've loved to pick some more back up. Well, I'm in the middle of two more projects for 'ya. Can't wait to share them with you all and hopefully you'll join me for more fun!


Monday, February 6, 2012

The Shop - October Afternoon

I originally planned on doing this layout with the "Kitchen Cupboard" paper from October Afternoon's Farmhouse collection. But since I had just used that entire page on my last layout, I had to find a replacement page. I wanted a deep wood grain so I started to look through my new Two Peas goodies and I found Crate Paper's Valentine page. The color was spot on, and I actually like this page better because it was a simpler page than the OA one. It's so easy to layer on patterns when the background is only slightly textured.


October Afternoon - Farmhouse - Button Box, October Afternoon - Farmhouse - Her Bureau, October Afternoon - Farmhouse - Church Social, October Afternoon - Farmhouse - Clothesline, October Afternoon - Farmhouse - Guest Room, October Afternoon - Farmhouse - Word Stickers, Crate Paper - Paper Heart - Valentine, Tim Holtz - Distress Ink - Vintage Photo, Ranger - Glossy Accents.


This picture is very important because it's the family business. My grandfather was the type of person who never settled for 'good enough'. He created 3 successful businesses, but he always said that he could do more. Then (much to the aggravation of my grandmother) he borrowed money against their farm to build Davis Foreign Auto Parts. It was very successful and he was happy with it for the rest of his days. Once he passed away, it was left to my father. I always look at it with awe. It always takes courage to leave what is safe for the unknown. I've dedicated this page to the legacy he has left behind.


The title was a little tricky for me. I tried a bunch of different papers, but they all had too much pattern on them. It just looked so busy that you couldn't read it. Then, I looked at my cardstock... which didn't help. All the browns I could find were more reddish than I wanted. So, I got an old cream index card and began rubbing it with Tim Holtz's Vintage Photo distress ink. Then, I got on my FMIL's silhouette and cut out the title. I really like the chunky letters and the color is exactly what I wanted. Sometimes things are just easier when you do things yourself. :)


I often look around to get ideas and inspiration. A couple of weeks ago, I saw a layout with a very heavy banner. It was packed full and had different shapes and sizes of pennants. I really loved the fullness it gave, so I stored it in my mind. Unfortunately, I don't remember who the inspiration piece was made by. If you think it might have been you, please send me an email and let me know. I've seen a couple of heavy banners, but they aren't the inspiration piece.


I just love all the images on the "Her Bureau" page. They're just so fun and you can use them each as an embellishment. The little post stamp was tricky. If I were to cut each little perforation separately, then it would take me all day and still come out strange. So I found a trick. I just cut around the sides as close as I could. Then, I punched the little half circles out with a small hole punch. I was done in less than 5 minutes. I then cut out a couple of the buttons and covered them with glassy accents. Of course, I went around all edges with the Vintage Photo pad.

I hope you enjoyed this layout. I'm completely in love with this collection. I'll probably stock up and still be using this stuff next year! lol. If you want to stay up to date on all my projects, you can follow me by clicking the follow button or entering your email into the box located to the right side of this blog. Can't wait to hear from you!

Thursday, February 2, 2012

Family - October Afternoon

Ever since Chloe has come into our lives, our days have been filled with vet visits, 4 walks a day, and being the referee between her and Jada. I wouldn't change a thing. It's been so exciting and fun but I've hardly had any time to actually scrap the pictures I've taken. But this past Tuesday I finally received my new package of goodies  from Two Peas. The Farmhouse collection from October Afternoon is absolutely wonderful in every possible way. It is so versatile and just screams to be used. The papers just flow so well together that it's so easy to mix and match. It can be used to scrap anything that feels old or vintage; however, it can also be something warm and home-y.


October Afternoon - Farmhouse - Button Box, October Afternoon - Farmhouse - Her Bureau, October Afternoon - Farmhouse - Faded Wallpaper, October Afternoon - Farmhouse - Church Social, October Afternoon - Farmhouse - Clothesline, October Afternoon - Farmhouse - Kitchen Cupboard, October Afternoon - Farmhouse - Word Stickers.

The journaling reads "Our happy family of three has now become a family of four. At first the idea of training another puppy worried me. Could I do it again? But now I can't see our family without Chloe." I started out with a couple of simple squares cut out and layered on top of each other. I loved it so much that I left it that way and only added embellishments to it.


I loved the little thread holders that were on one of the pages. I broke out my scissors and cut out one with yellow thread. It already had thread painted on it, but I decided that I wanted to wrap it in real thread for added affect. I placed a dot of glossy accents on the back to be sure that the thread didn't unwind. Then, I dug through my FMIL's stash of antique buttons for the final touch. 


I loved all the stickers that come with the Farmhouse collection. The word lists can all be lined up to add a border or stacked. They are so versatile. I loved this sticker that said My No.1 Key to Happiness. I just felt that it summed up my feelings of this photo. To finish off my page, I broke out the sewing machine and played around with the different settings for different stitches. 

Unfortunately, I only purchased one of each page. I didn't realize just how wonderful this collection is. I wound up using three different papers on this layout alone. I'm already getting my shopping cart ready for a replenishment shipment. These are just too fun. I always seem so surprise when I get anything October Afternoon. I always start out unsure, but once I get them in my hands, I fall in love!

Thursday, August 11, 2011

Working with Scraps - October Afternoon Cards

First off, let me start by saying a big Thank You to all the wonderful comments and support I received from my last posts. You have no idea how wonderful that was for me or how much it touched me deeply. I hope I can continue to make someone smile. If you enjoy viewing my posts and projects, make sure to become a follower so you will immediately know when something new is posted. :-)

Now on to my current project. The October Afternoon 'Modern Homemaker' and '5 & Dime' collections are awesome! They each have such bold colors and retro style. It was so much fun creating layouts and projects from these. But after I was finished, I realized that I had a lot of scraps. So, what did I do? I used them, of course!


Since the papers have such a vintage retro vibe to them, I wanted to keep with that feel for my cards. I used the October Afternoon Sprinklers to color the backgrounds of both my cards to give a soft feel to them while staying in my color palette. I've recently been trying to learn how to sew on my projects, so I thought this was the perfect opportunity. When you're doing a homespun or vintage feel, it's ok for things to be a little messy and imperfect. Things were usually made by hand back then, so mistakes are ok. I feel they add a little charm to my cards.


On the front of my first card, I used the Sprinklers mist in 'Strawberry Creme'. It was a beautiful tone of pink (not too dark and not too light). After that was dry, I created my flowers by layering circles punched from various papers. Some cute buttons out of my FMIL vintage stash added the finishing touches. While the circles were waiting on the glossy accent glue to dry, I sewed the red stems onto the card. Then I added the flowers and the stamped sentiment. One card down, one to go!


If your going for a vintage or retro feel, why not quilt it? I saw this pattern online for a simple quilt. I cut 7 small hexagons out of my scraps and glued them in a flower shape. I went around all the edges with Tim Holtz's distress inks. Then I jumped back onto the sewing machine and started sewing a rough frame around the card.

I'm really pleased with how these turned out. I'm also excited about the fact that I used my scraps so I won't be stuffing them into any scrap drawers. These papers were just too cute to hide away.  Hope you enjoyed these fun cards.